
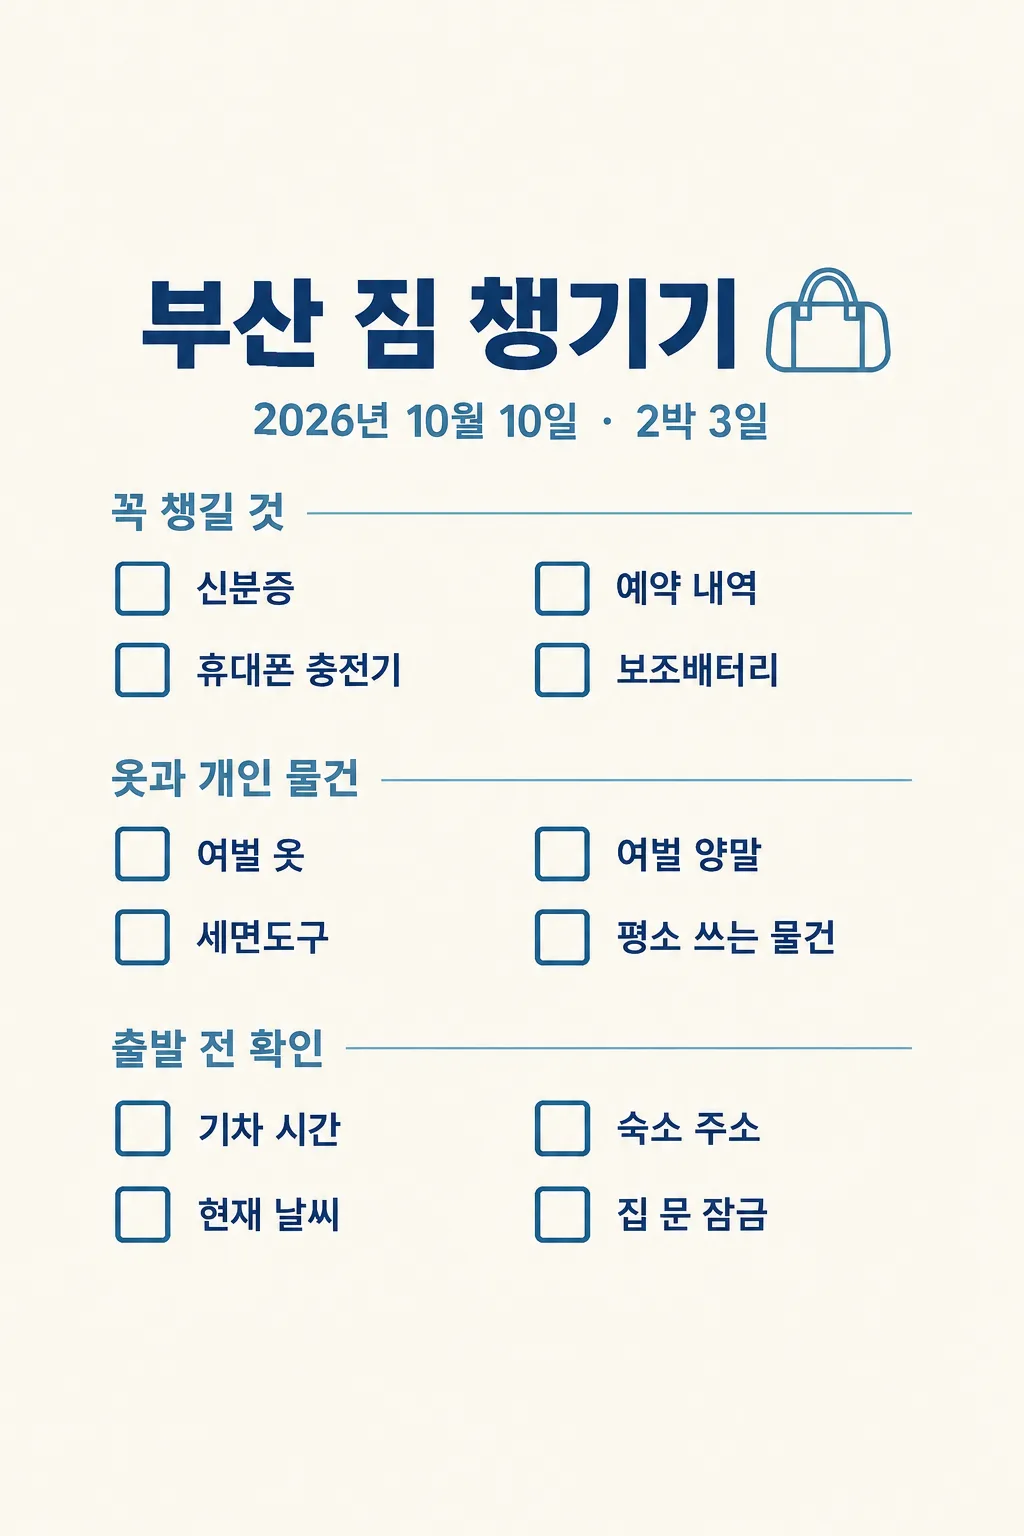
전체 · 인포그래픽/안내 · 순서·절차
088여행 짐 체크리스트
여행자가 목적지·일정·이동 수단을 넣어 출발 전 확인할 짐 한 장을 휴대폰에 저장하거나 동행자에게 보내요.
칸 채우기
- 1칸을 채워요
- 2복사 버튼을 눌러요
- 3GPT 채팅창에 붙여넣어요
- 4제품·인물 사진을 쓰려면 사진과 프롬프트를 둘 다 넣은 뒤에 보내요 선택
프롬프트 원문 보기 6,342자
Generate this image now. Draw it directly - do not describe it, explain it, or ask questions.
Output size 2480x3508 pixels, A4 portrait, 300dpi, print-ready poster.

[Purpose]
Create exactly ONE finished Korean packing checklist image that a real traveler can save to a phone or share with companions before leaving. Inputs: destination "【여행지】"; departure date "【출발 날짜】"; trip length "【여행 기간】"; travel style "【여행 방식】"; transport "【이동 수단】". The image is a usable checklist, not a multi-day route planner, itinerary, travel advertisement, photo collage or set of slides. Make 12 to 16 concise checkable packing items that fit one complete 2:3 vertical canvas, grouped into three or four meaningful sections. Provide open square checkboxes large enough for a viewer to tap or mark after saving/printing. The user should not need to ask for another page, crop it, edit it in a design tool, or run code.

[Research and selection]
Before drawing, check today's date and decide how far away the departure is. If current forecasts for the exact destination and travel period are available from a credible weather service, use them only to choose appropriate clothing and weather items; do not print an unsupported exact forecast. If the trip is outside the reliable forecast window, use broad seasonal considerations and put "출발 전 날씨 확인" on the checklist instead of predicting rain or temperature. If the travel style implies a special activity, add at most two items that genuinely fit it; do not invent bookings, paid tours, a beach day, swimming, mountain route, hotel amenities or a child's age. For air travel, never claim a baggage allowance, liquid limit or document requirement unless verified from the actual airline and route; instead include a neutral item to check the booking and airline rules. For international travel, if required documents or entry rules are mentioned, verify the destination, citizenship assumption, current official sources and applicability; if any are unknown, write a neutral "입국 서류 확인" checkbox rather than a false rule. Avoid medical, financial or legal advice. Use the entered date exactly and do not add a guessed weekday. This card should still produce one image if live research is unavailable: keep the packing list to stable general essentials and a visible "날씨·교통 규정 확인" checkbox, without weather or legal assertions.

[Content]
Make a large title combining the actual destination and purpose, such as "【여행지】 짐 챙기기". Below it, print the exact departure date and trip length once each, and the chosen style and transport as a small context line only if that helps the reader. Choose 12 to 16 distinct checkbox items in three or four groups. Good group types are essential documents/booking, clothing, personal care, and movement/activity; rename groups to suit the trip. Include only items a traveler can actually put in a bag or verify before leaving. Prefer "충전기", "예약 내역", "여벌 옷" over vague motivation slogans. Do not include duplicate items in multiple groups. Never list personal medicine as mandatory for everyone; if relevant say "평소 복용하는 약" without prescribing a drug. Do not prescribe exact clothing counts unless the entered trip length and item make that count straightforward; a neutral "여벌 양말" is safer. Add one small final check line about closing the bag and confirming time/route only if it remains genuinely useful and the layout still breathes. Do not add a fake number of passengers or a booking reference.

[Scene and layout]
Create one opaque, edge-to-edge vertical checklist with a quiet off-white paper background, deep navy text and a muted travel-accent color chosen for the destination and style. Use 2:3 portrait composition. Keep the top 12% and bottom 15% free of essential lettering for the site's overlays. In the upper central area, put a bold large destination title and compact date/length line. In the middle three fifths, use three or four clean section bands with 3 to 5 checkboxes each. To fit 12 or more items legibly, arrange each section's four items as a TWO-COLUMN, TWO-ROW grid instead of a long single column. Each square aligns to the left of its own item and stays visibly empty. Thin route-line motifs or small original travel icons can mark sections, but no map with fabricated places, fake tickets, airline logo, landmark copy, foreign street signs, food photograph or luggage brand. At the lower edge of the central safe area put a one-line reminder that is grounded in the actual trip, such as checking weather before departure when the forecast is not yet available. The sections must fit entirely on ONE image and every Korean word should be readable at normal phone size without zooming. If space is tight, remove the least useful item rather than shrinking all text or producing another sheet.

[Visual hierarchy]
First read: the destination and "짐 챙기기". Second read: the date and trip length. Third read: grouped checkboxes. The paper should look like a genuinely usable travel note worth saving, with enough white space to see what is unchecked. Draw original simple icons with correct anatomy for shoes, a bag, a charger or a rain umbrella; never fill the page with generic airline decorations when transport is train or car. Give each category a restrained color chip, not a huge illustrated scene. Keep text away from decorative elements and from the entire outer edge. No handwritten lettering for dates or item labels, though a short small pencil accent is acceptable if legible.

[Accuracy and text rules]
Render "【여행지】", "【출발 날짜】" and "【여행 기간】" exactly, without changing punctuation or calculating a weekday. The selected style and transport are planning context, not text to repeat in every section. Never claim current weather without opening a timely source; never guarantee temperatures or exact rainfall. Never invent a packing restriction, visa requirement, restaurant reservation, meal, local attraction or travel booking. No fake checkmarks that imply packing is done. No duplicate items, arbitrary quantities, tiny unreadable caveats, brand marks, QR code, watermark, phone mockup, carousel or cropping note.

[Output]
Return the finished single image directly. If live weather was checked, give its direct source and forecast date briefly in chat text after the image; that text is not an extra slide or required assembly step. The complete checklist itself must already be inside the one image.
이 카드도 많이 사용해요
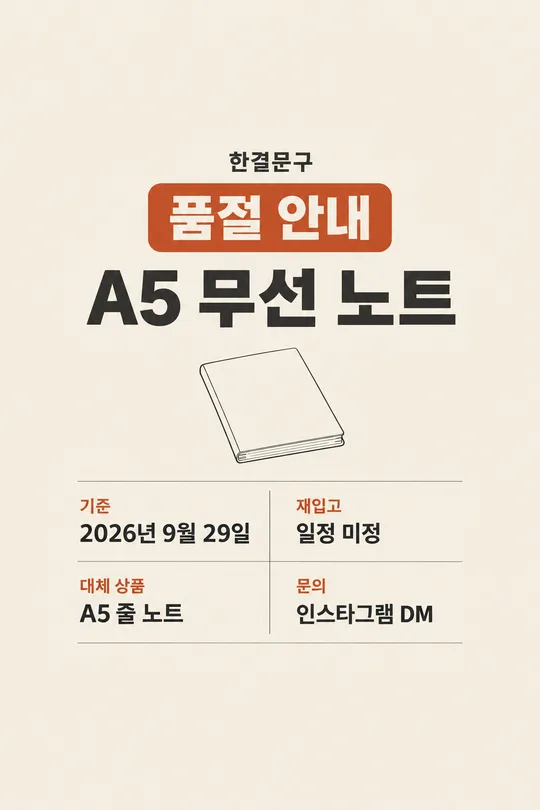
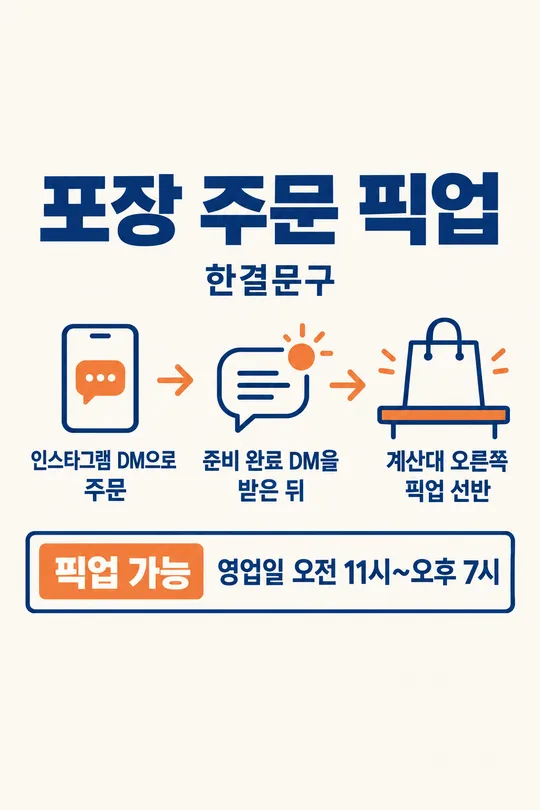
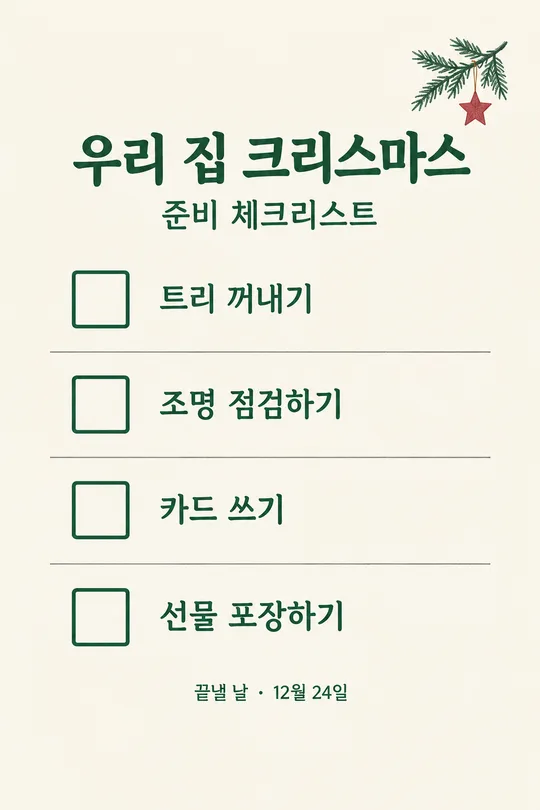
쓰는 법 · 자주 묻는 것
이런 때 쓰세요
여행 출발 전날 가방을 열어 놓고 “뭘 빼먹었지?” 하고 다시 확인할 때 쓰세요. 목적지, 날짜, 기간, 여행 방식과 이동 수단을 넣으면 필요한 준비물을 체크박스가 있는 한 장으로 정리합니다. 휴대폰에 저장해 짐을 넣으면서 하나씩 확인하거나, 함께 가는 사람에게 보내 각자 챙길 것을 점검할 수 있습니다. 기존 여행 일정표는 어디를 언제 갈지 정하는 그림이고, 이 카드는 집을 나서기 전에 무엇을 챙겼는지 확인하는 그림입니다.
칸 채우는 법
- 여행지는 실제로 가는 곳을 적으세요. 도시 이름만 써도 되고 날씨 차이가 큰 지역이면 더 구체적인 지역을 쓰는 편이 좋습니다.
- 출발 날짜는 확정한 날짜를 적으세요. 요일을 넣을 경우 달력에서 먼저 확인하세요. GPT가 날짜를 바꾸거나 요일을 추측하지 않도록 했습니다.
- 여행 기간은 당일치기나 며칠을 자는지 적으세요. 짐의 양을 가늠하는 데 쓰지만, 개인별 옷 개수를 단정하지 않습니다.
- 여행 방식은 도시 산책, 해변 여행, 가벼운 등산, 가족 여행, 출장 중 가장 가까운 것을 고르세요. 특별한 활동이 확정되지 않았다면 무리해서 넣지 않아도 됩니다.
- 이동 수단은 기차, 비행기, 자동차, 버스 중 실제로 탈 것을 고르세요. 항공 수하물·입국 규정은 항공사와 목적지마다 다를 수 있어 그림이 임의의 수치를 만들지 않습니다.
한 번에 만드는 법
칸을 채우고 무료 GPT에 프롬프트를 한 번 붙여넣으세요. 결과는 체크박스와 짐 목록이 모두 담긴 이미지 한 장입니다. 두 장으로 나누거나 코드로 표를 만들 필요가 없습니다. 출발까지 시간이 많이 남았다면 장기 날씨 예보를 믿고 우산이나 두꺼운 옷을 단정하기보다 “출발 전 날씨 확인”을 체크 항목에 넣습니다. 당일 준비할 때 최신 날씨, 실제 예약과 교통편을 함께 확인하세요.
그림이 나오면 꼭 볼 것
여행지, 날짜, 기간이 실제 예약과 맞는지 먼저 보세요. 비행기를 탄다고 해서 모르는 항공사의 수하물 허용량이나 액체 규칙이 사실처럼 적혀 있으면 그대로 쓰지 마세요. 여행 활동이 입력한 것과 다른데 수영복·등산 장비가 들어가 있지 않은지도 확인하세요. 체크박스가 이미 채워져 있거나 글자가 잘리면 짐을 챙길 때 혼동됩니다. 목록이 너무 길고 작은 글씨라면 덜 중요한 항목을 빼고 다시 한 장으로 만들면 됩니다. 사진이 없어도 완성됩니다.
자주 묻는 것
- 날씨를 자동으로 넣나요? 믿을 수 있는 현재 예보가 나오는 가까운 날짜일 때만 참고합니다. 먼 날짜라면 출발 전 확인 항목으로 남깁니다.
- 항공 규정을 대신 확인해 주나요? 항공사·노선·운임에 따라 다르므로 실제 예약과 항공사 안내를 확인해야 합니다.
- 체크리스트가 몇 장 나오나요? 결과는 세로 이미지 한 장입니다.
- 여행 일정표와 무엇이 다른가요? 일정표는 이동 동선을 정하고, 이 카드는 출발 전 가방과 준비사항을 점검합니다.